

A Trader’s Guide to Position Sizing Trading
How many times have you watched a small loss turn into a catastrophic one, wiping out a week’s worth of gains in a single trade? It’s a gut-wrenching feeling. More often than not, the culprit isn’t a bad trading strategy, but a breakdown in risk management—specifically, a failure in position sizing trading. Many traders mistakenly believe their success hinges solely on finding the perfect entry and exit points. They obsess over indicators and chart patterns, yet they completely ignore the one variable that will ultimately determine their staying power in this game: how much they risk on each trade. Proper position sizing is the engine of capital preservation. Without it, even a winning strategy can lead to a blown account.
The Position Size Formula
Position Size = (Account Size * Risk % Per Trade) / (Stop Loss Distance in Dollars)
This formula dictates the number of shares or contracts to take based on your predefined risk tolerance. For example, with a $50,000 account and a 1% risk rule ($500), if your stop loss on a stock is $2.50 from your entry, your position size is $500 / $2.50 = 200 shares.
The Problem: Guesswork and Gut Feelings
The single biggest issue traders face is inconsistency. One day, they risk $100 on a trade. The next, after a few wins, they feel overconfident and risk $1,000 on a trade that looks like a “sure thing.” That’s when the market teaches them a painful lesson. This emotional sizing—sizing up when you feel good, sizing down when you’re scared—is a direct path to ruin. It introduces luck as a major factor in your P&L. If your bigger bets lose and your smaller bets win, your account will bleed out over time, even with a positive win rate.
Another common struggle is linking position size to conviction. Traders often think, “I feel really good about this setup, so I’ll go bigger.” But conviction is an emotion, not a data point. Your conviction doesn’t change the probability of the trade working out. Proper position sizing trading removes this emotional variable, forcing you to treat every trade with the same disciplined risk parameters. It transforms trading from a gambling exercise into a statistical one, which is exactly what it should be.
Explanation: What Is Position Sizing?
At its core, position sizing trading is the process of determining how many units of an asset (shares, contracts, lots) you should trade based on your account size and risk tolerance. It's not about how much money you want to make; it's about how much money you are willing to lose if your trade idea is wrong. This is a critical distinction that separates professional traders from amateurs.
The three core components are:
Account Size: The total capital you have available for trading.
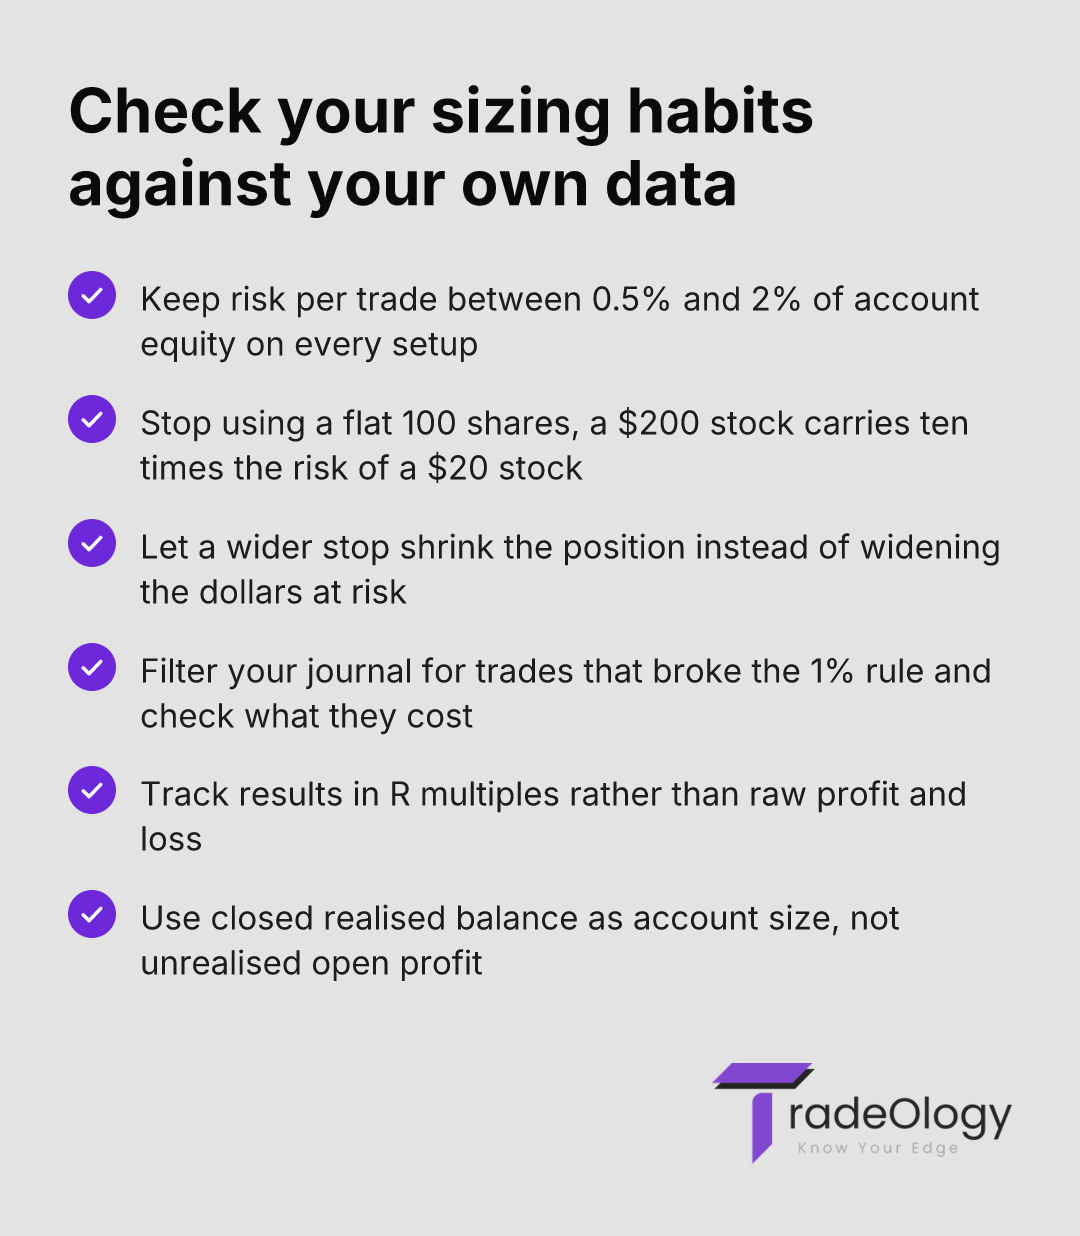
Risk Per Trade (%): The maximum percentage of your account size you are willing to lose on a single trade. Most professionals recommend keeping this between 0.5% and 2%.
Stop Loss Distance: The distance, in dollars, from your entry point to your stop loss order. This is determined by technical analysis (e.g., placing the stop below a key support level), not by an arbitrary dollar amount.
Your stop loss should be placed at a logical price where your trade idea is invalidated. Position sizing then adapts to that stop loss distance. A wider stop means you take a smaller position. A tighter stop allows for a larger position. The key is that the total dollar amount at risk remains constant across all trades.
A Practical Framework for Position Sizing
Moving from theory to practice requires a repeatable, non-negotiable process. Here is a step-by-step framework you can apply before every single trade. This process should be mechanical, removing emotion and guesswork from the equation.
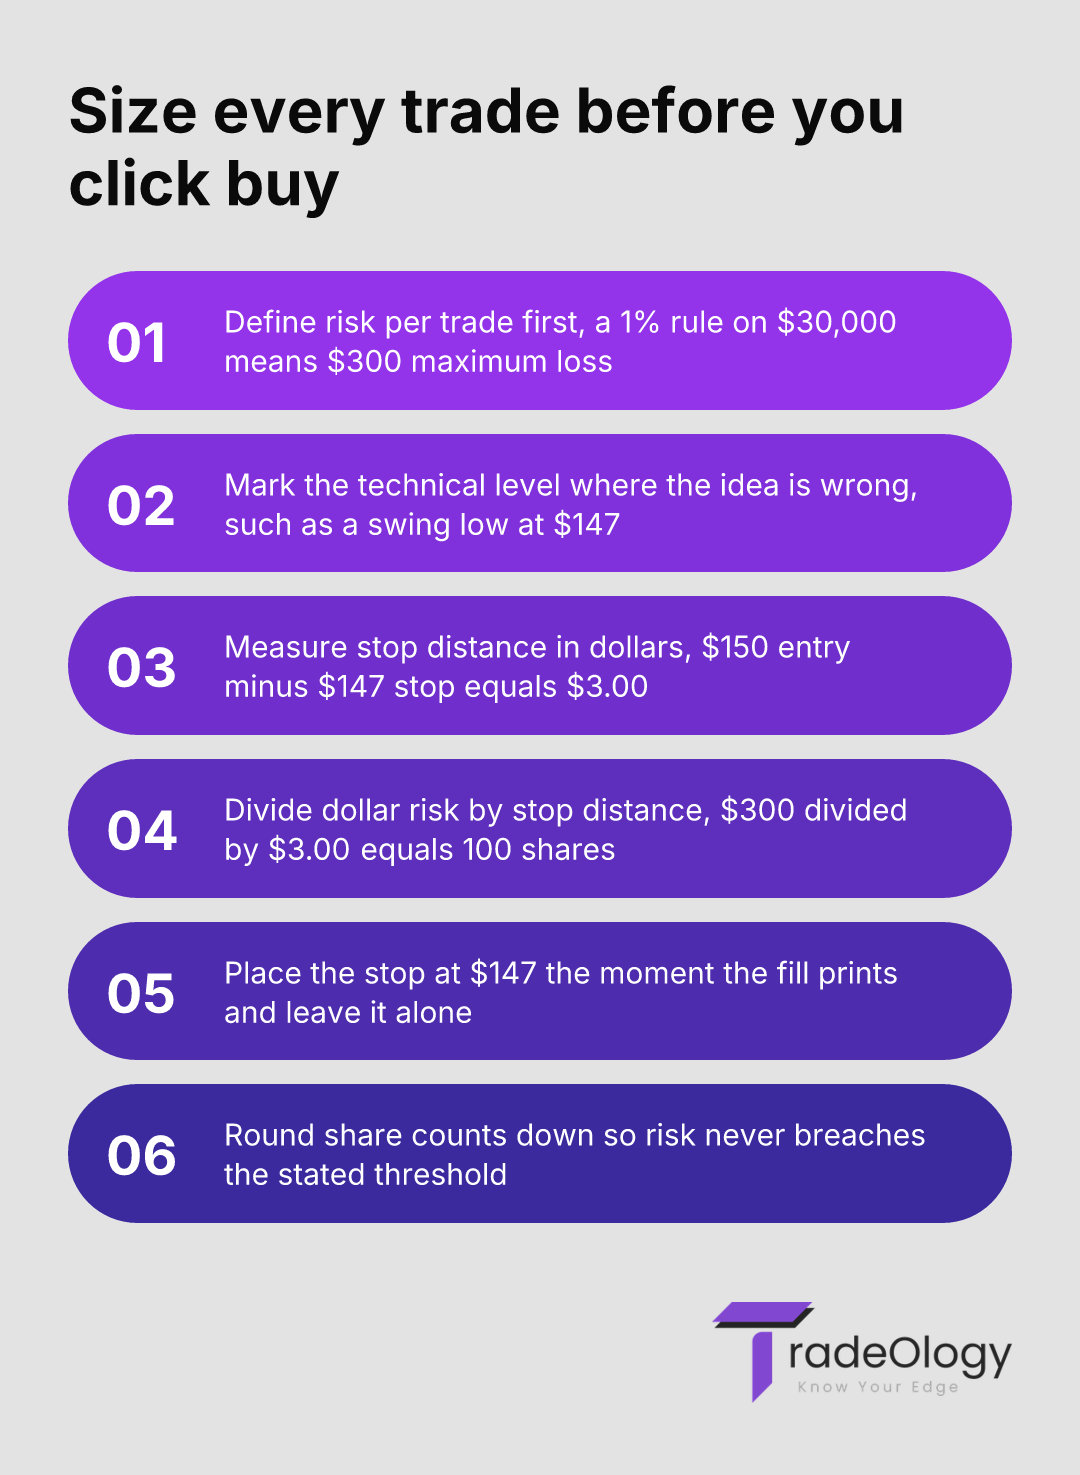
Step 1: Define Your Maximum Account Risk
Before you even look at a chart, you must define your risk per trade as a percentage of your total account size. A 1% rule is standard for most traders. If you have a $30,000 trading account, your maximum loss on any single trade is $300. This is your line in the sand. It doesn't matter how great the setup looks; you never risk more than this amount. This rule prevents any single trade from having a significant negative impact on your capital and your psychology.
Step 2: Identify Your Trade Invalidation Level (Stop Loss)
Once you’ve identified a potential trade setup, the next step is to determine where your trade idea is proven wrong. This is your stop loss level. This should be based on technical factors, not on how much you're willing to lose. For a long trade, it might be below a recent swing low, a key moving average, or a support level. For a short trade, it would be above a resistance level or swing high. For example, if you want to buy a stock at $150 and the last swing low was at $147, your technical stop loss is at $147. Your stop loss distance is therefore $3.00 per share.
Step 3: Calculate Your Position Size
Now you have all the necessary variables. Use the formula: Position Size = (Account Size * Risk %) / (Stop Loss Distance). Using our example: ($30,000 * 0.01) / $3.00 = $300 / $3.00 = 100 shares. To execute this trade correctly, you would buy 100 shares at $150 and immediately place a stop loss order at $147. If the trade fails, you lose exactly $300 (plus commissions), which is the 1% risk you predefined. You can find a useful calculator and more details on risk management at Investopedia.
Step 4: Execute and Manage
Once the position size is calculated and the order is placed, the job is done. The worst mistake you can make is to manually override your stop loss because the price is moving against you. Respecting your invalidation level is just as important as calculating the position size correctly. This disciplined approach ensures long-term survival. For more on evaluating your approach, see our guide on how to properly evaluate a trading strategy.
Real Trading Example: Sizing a Trade in AAPL
Let's walk through a realistic scenario to see how this works in practice.
Account Size: $75,000
Risk Per Trade: 1.5% ($1,125)
Setup: You've identified a potential breakout in Apple (AAPL) stock. You want to buy as it crosses above a resistance level at $172.00.
Stop Loss Placement: Based on the chart, the nearest logical support level (a prior swing low) is at $168.50. This is where your trade idea is invalidated.
First, calculate the stop loss distance per share: $172.00 (Entry) - $168.50 (Stop) = $3.50 per share.
Next, use the position sizing formula:
Position Size = Total $ Risk / Stop Loss Distance Per Share
Position Size = $1,125 / $3.50 ≈ 321.4 shares.
Since you can't trade fractional shares of stock, you round down to the nearest whole share: 321 shares. This ensures your risk does not exceed your 1.5% threshold. You would then buy 321 shares of AAPL at $172.00 and place your stop loss at $168.50. Your actual risk is 321 * $3.50 = $1,123.50, just under your maximum allowed risk.
Common Mistakes in Position Sizing Trading
Even with a formula, traders find ways to make mistakes. Avoiding these common pitfalls is crucial for protecting your capital and maintaining discipline.
Using the Same Share Size for Every Trade: Buying 100 shares of a $20 stock is not the same risk as buying 100 shares of a $200 stock. Risk must be normalized based on volatility and stop distance, not an arbitrary share count.
Determining Position Size Based on Profit Target: Sizing your trade based on how much you "want" to make is a classic emotional error. Your risk should always be the primary input, not your desired reward.
Ignoring Volatility: A highly volatile stock requires a wider stop loss to avoid being shaken out by random noise. The position sizing formula automatically accounts for this—a wider stop correctly forces a smaller position size.
Changing Risk Parameters Mid-Trade: Adding to a losing position or widening your stop because a trade is moving against you invalidates the entire risk calculation. Your initial risk plan should be respected.
Not Factoring in Commissions and Slippage: While small, transaction costs add up. Your actual loss will be slightly more than your calculated risk. For high-frequency strategies, these costs can significantly impact performance.
How TradeOlogy Helps
Consistency in position sizing trading is a game of discipline, and data is your best coach. This is where a trading journal becomes indispensable. When you log your trades in TradeOlogy, you’re not just recording entries and exits; you’re building a database of your own trading behaviors.
Did you stick to your 1% rule on every trade? Our analytics can show you. You can easily filter for trades where you risked more than your predefined limit and see how those trades performed. Often, traders discover that their largest losses came from the few times they broke their own sizing rules. Seeing this in hard data makes the lesson stick.
Furthermore, TradeOlogy helps you analyze risk-adjusted returns. You can track your performance based on initial risk (R-multiples), which tells you far more than simple profit and loss. Are your 1R losses consistently managed? How large are your average winning trades in R-multiples? Answering these questions requires diligent tracking, something a platform like ours automates. This data-driven feedback loop is essential for refining your risk management, which is a key part of the trade review process.
Frequently Asked Questions (FAQ)
1. What are different position sizing models?
The most common model is the Fixed Fractional model, which we've discussed here (risking a fixed percentage of your account, like 1% or 2%). Another popular method is the Fixed Ratio model, which involves increasing position size only after a certain amount of profit has been generated. More advanced models, like the Kelly Criterion, attempt to calculate the optimal percentage to risk for maximizing long-term growth, but they can be aggressive and complex. For most retail traders, the Fixed Fractional model provides the best balance of safety and simplicity.
2. How does volatility affect my position sizing?
Volatility directly impacts your stop loss distance. A volatile instrument will have larger price swings, requiring a wider stop loss to avoid premature stop-outs from normal market noise. According to the position sizing formula, a wider stop naturally results in a smaller position size. This is the market's way of forcing you to reduce risk when uncertainty is high. Conversely, a low-volatility asset allows for a tighter stop and thus a larger position size for the same dollar risk. Tools like the Average True Range (ATR) indicator can help you quantify recent volatility to set more objective stop losses.
3. Should I include unrealized profits in my account size for calculations?
This depends on your trading style. A long-term swing trader might update their account size for sizing calculations weekly or monthly. A day trader, however, should generally stick to their starting balance for the day. Using unrealized profits from an open trade to calculate the size for a new trade can lead to over-leverage and cascading losses if the market suddenly reverses. It's a more conservative and safer approach to only update your "Account Size" input based on your closed, realized balance at the end of a specific period (e.g., daily or weekly).
Conclusion
Mastering entries and exits is exciting, but mastering risk management is what keeps you in the business of trading. Your ability to consistently apply a disciplined position sizing trading strategy will have a greater impact on your long-term success than any indicator or chart pattern. It is the single most effective tool for protecting your capital, managing emotion, and ensuring that no single trade can take you out of the game. For a deeper look into the math behind profitability, check out our article on trading expectancy. Ultimately, successful position sizing trading isn't about being right on every trade; it's about making sure you are around to trade tomorrow when you are wrong.